꽤 오래전일이지만 윈도우10 나왔을때 쯤인가.. 윈도우10 알림 쓰는법을 찾다가 그때 기억으로는 UWP 앱이 아니면 사용 불가이거나 비슷한 효과를 내주는 서드파티 라이브러리를 써야 했는데 최근에 WinUI3 관련 찾다 보니 요즘은 그냥 몇가지만 해주면 된다고 해서 찾아보고 여기 정리해둠.
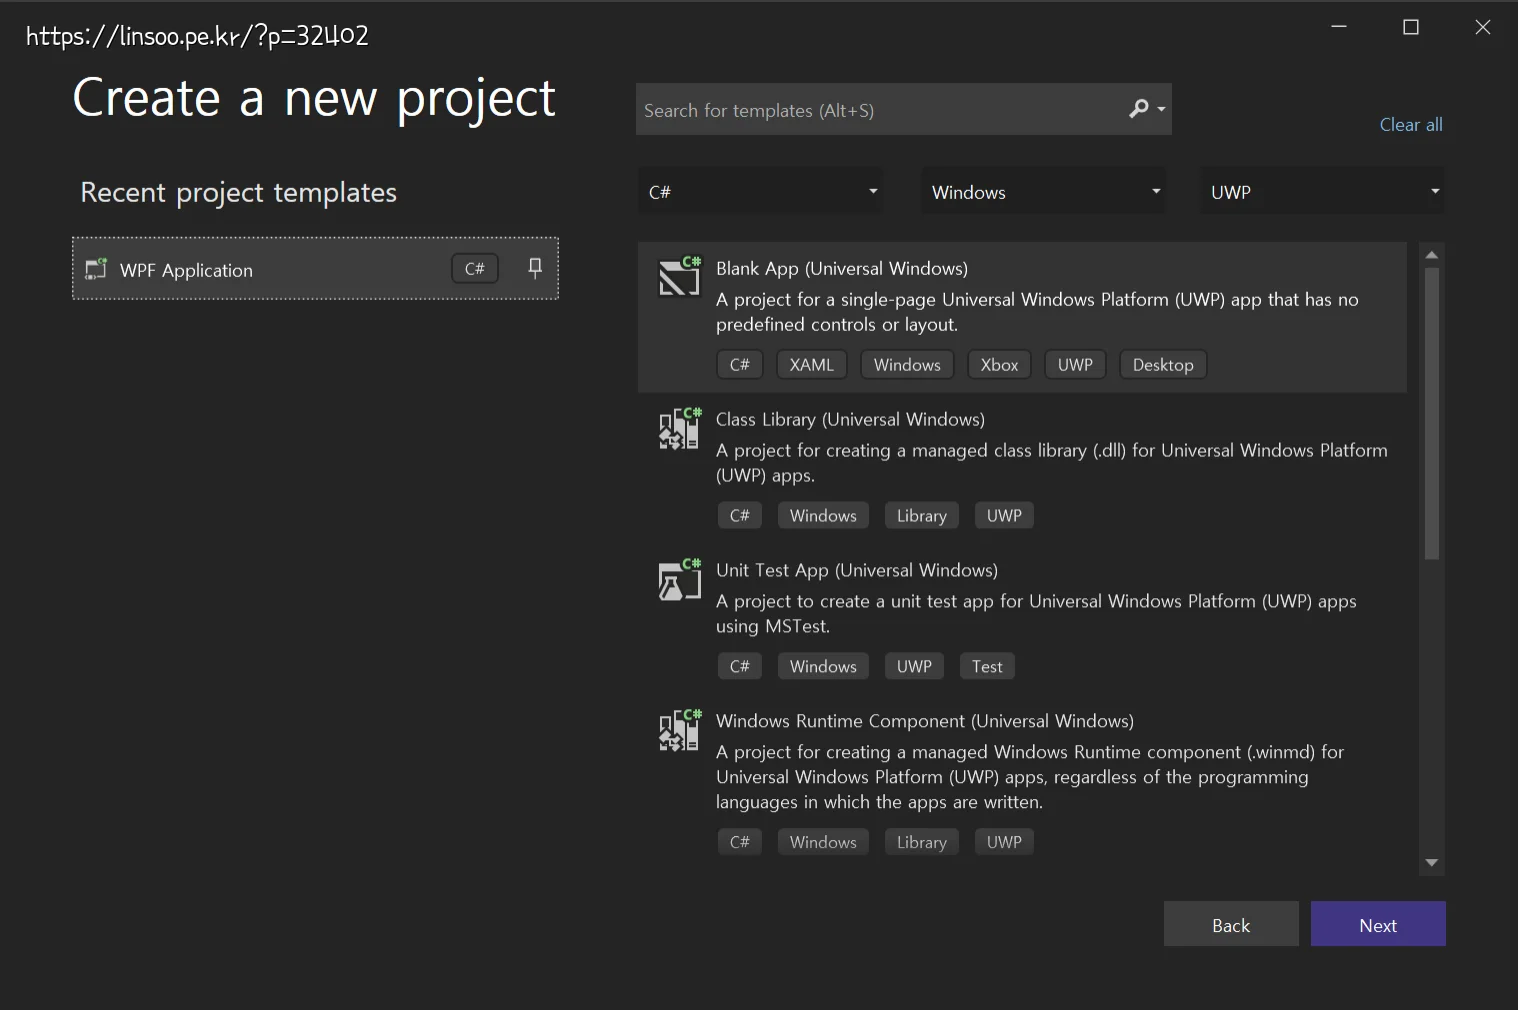
일단 WPF 프로젝트를 하나 만듬.
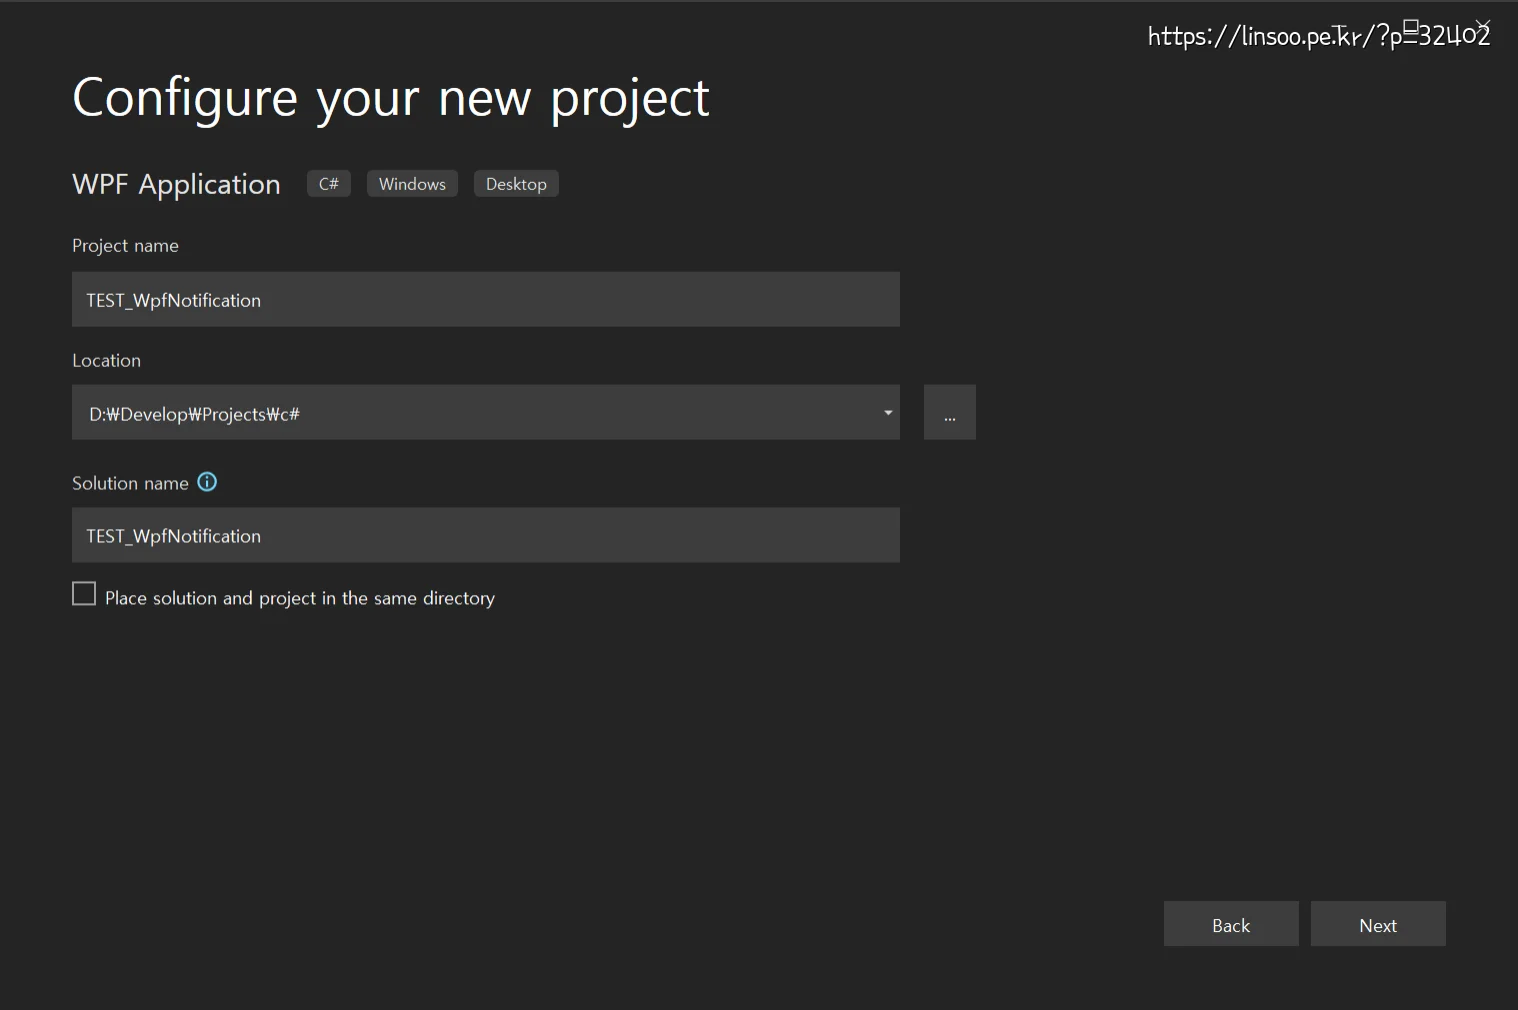
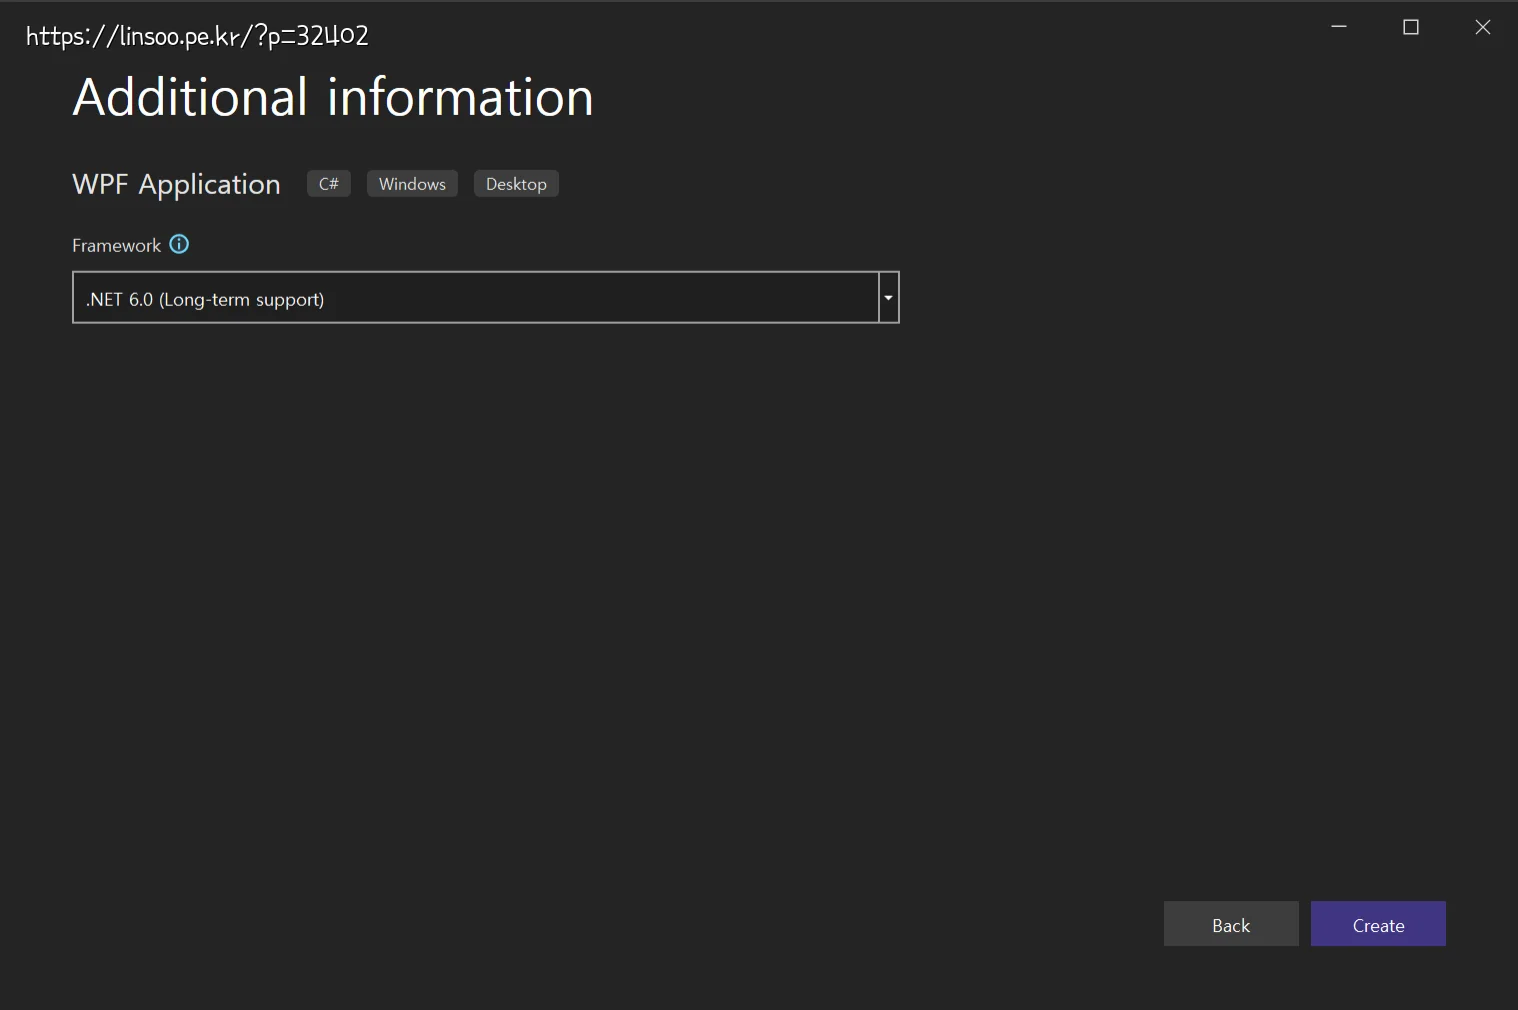
프레임워크는 닷넷 6.0으로 해주고 (LTS라고 해서 ㅋㅋㅋ) 프로젝트를 생성함.
제일 먼저!!!

Solution Explorer에서 프로젝트명을 더블 클릭하면 “프로젝트명.csproj” 파일이 열리는데
<!--<TargetFramework>net6.0-windows</TargetFramework>-->
<TargetFramework>net6.0-windows10.0.17763.0</TargetFramework>
기존의 TargetFramework을 위 처럼 바꿔준다.
이게 제일 먼저 해야 하는 이유는 nuget으로 패키지 추가할때 의존성으로 따라 붙는것들이 달라서 먼저 해줘야 합니다. 대신 이 WPF 프로젝트는 2018년 10월에 나온 윈도우10 1809 레드스톤5 버전 이상에서만 실행 가능합니다.

이번엔 nuget에서 “Microsoft.Toolkit.Uwp.Notifications” 를 검색해서 설치합니다.
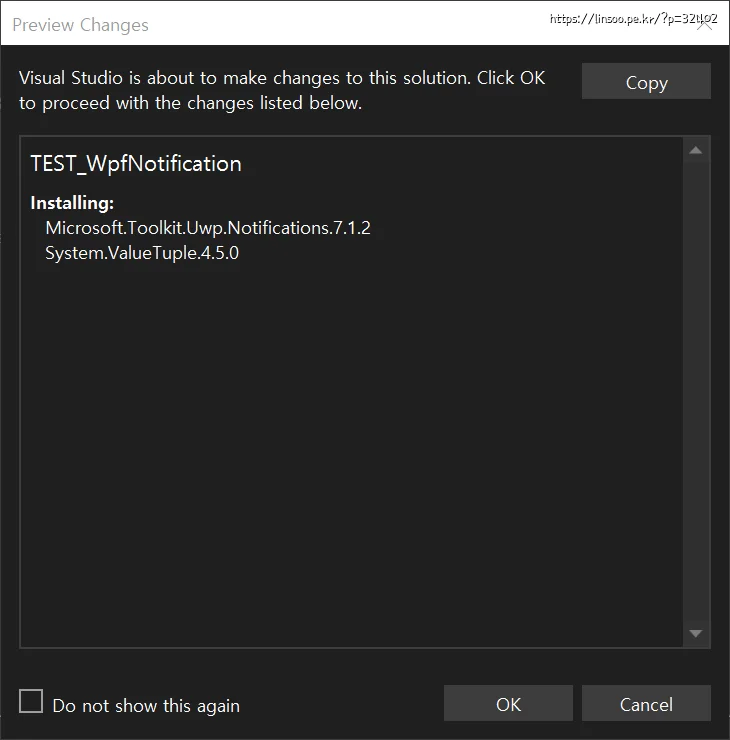
타겟프레임워크를 바꾸지 않았다면 위 처럼 뜰테고
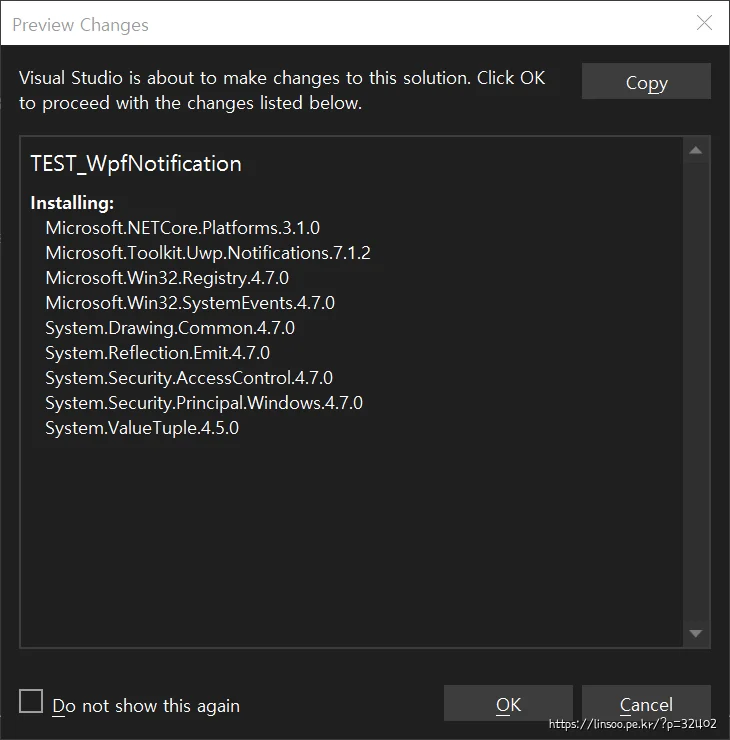
제대로 바꿨다면 위 처럼 뜹니다.
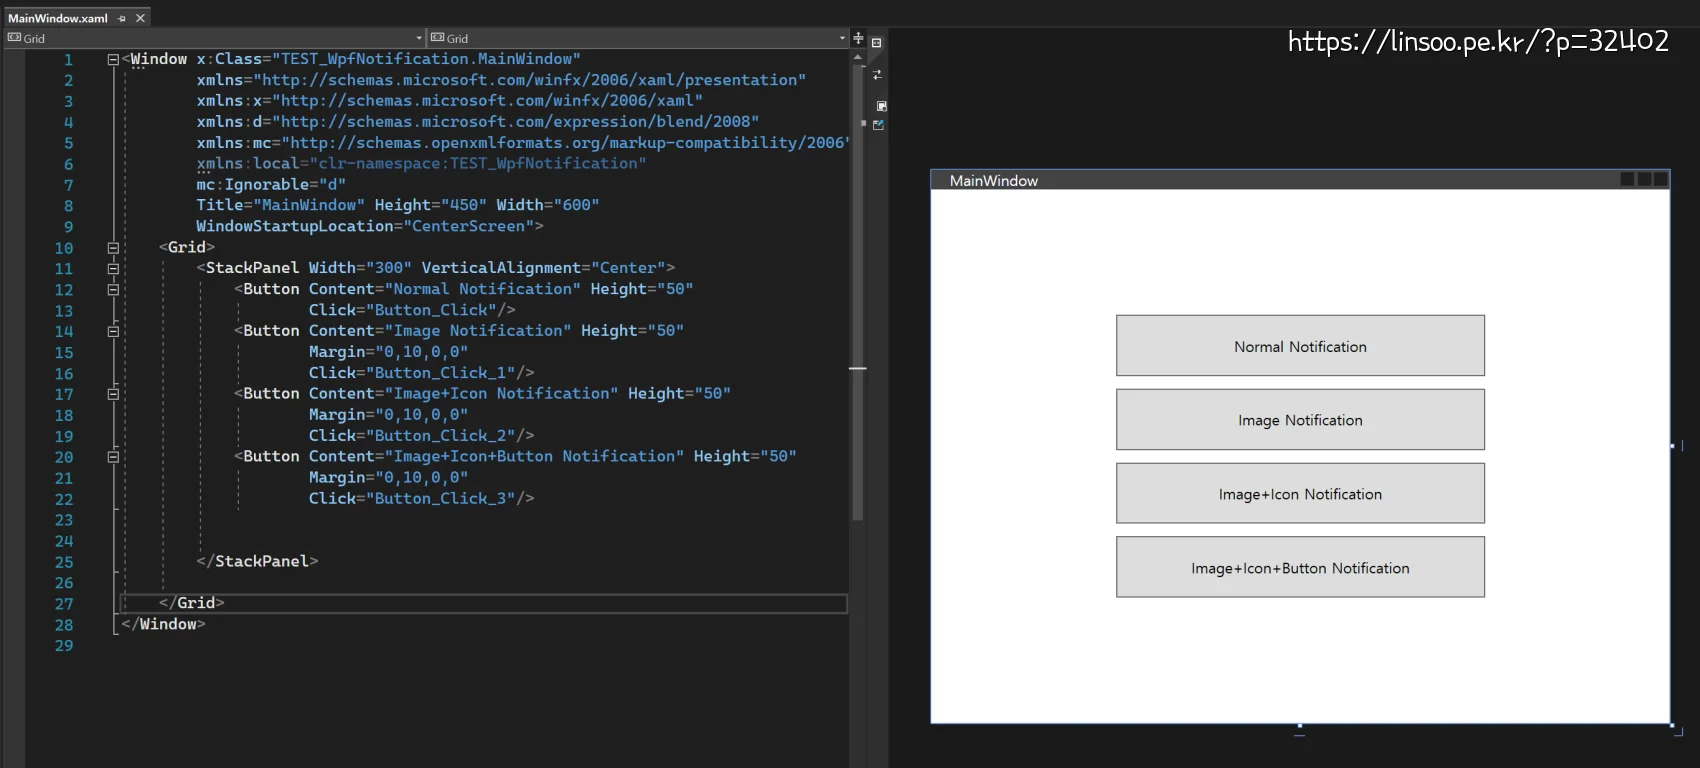
메인 화면은 간단하게 이렇게 구성해줍니다.
<Window x:Class="TEST_WpfNotification.MainWindow"
        xmlns="http://schemas.microsoft.com/winfx/2006/xaml/presentation"
        xmlns:x="http://schemas.microsoft.com/winfx/2006/xaml"
        xmlns:d="http://schemas.microsoft.com/expression/blend/2008"
        xmlns:mc="http://schemas.openxmlformats.org/markup-compatibility/2006"
        xmlns:local="clr-namespace:TEST_WpfNotification"
        mc:Ignorable="d"
        Title="MainWindow" Height="450" Width="600"
        WindowStartupLocation="CenterScreen">
    <Grid>
        <StackPanel Width="300" VerticalAlignment="Center">
            <Button Content="Normal Notification" Height="50"
                    Click="Button_Click"/>
            <Button Content="Image Notification" Height="50"
                    Margin="0,10,0,0"
                    Click="Button_Click_1"/>
            <Button Content="Image+Icon Notification" Height="50"
                    Margin="0,10,0,0"
                    Click="Button_Click_2"/>
            <Button Content="Image+Icon+Button Notification" Height="50"
                    Margin="0,10,0,0"
                    Click="Button_Click_3"/>


        </StackPanel>

    </Grid>
</Window>
MainWindow.xaml
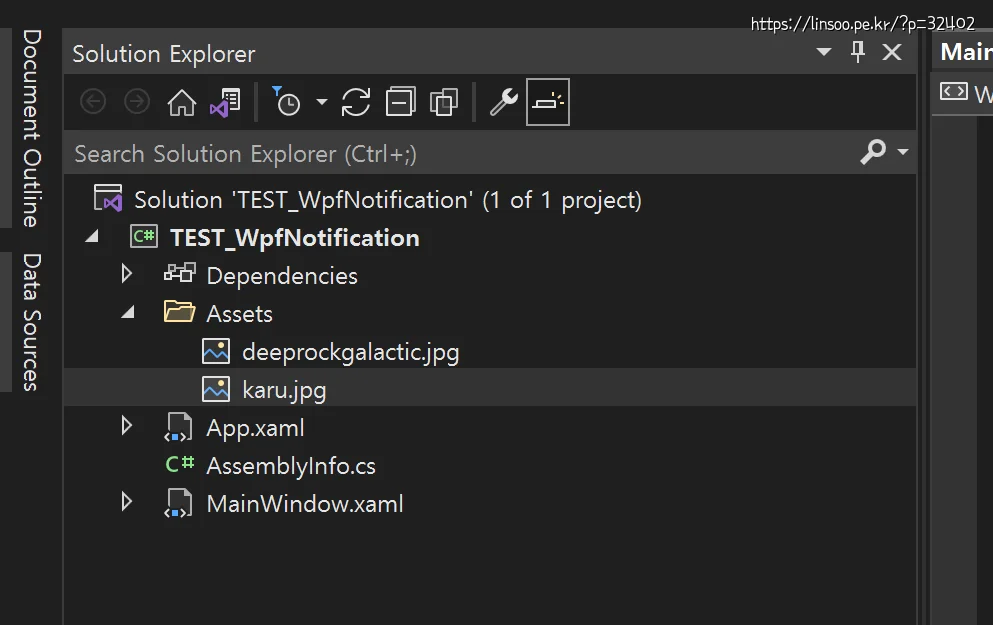
출력에 사용할 이미지는 위 처럼 Assets 폴더를 만들어서 넣어줬습니다.
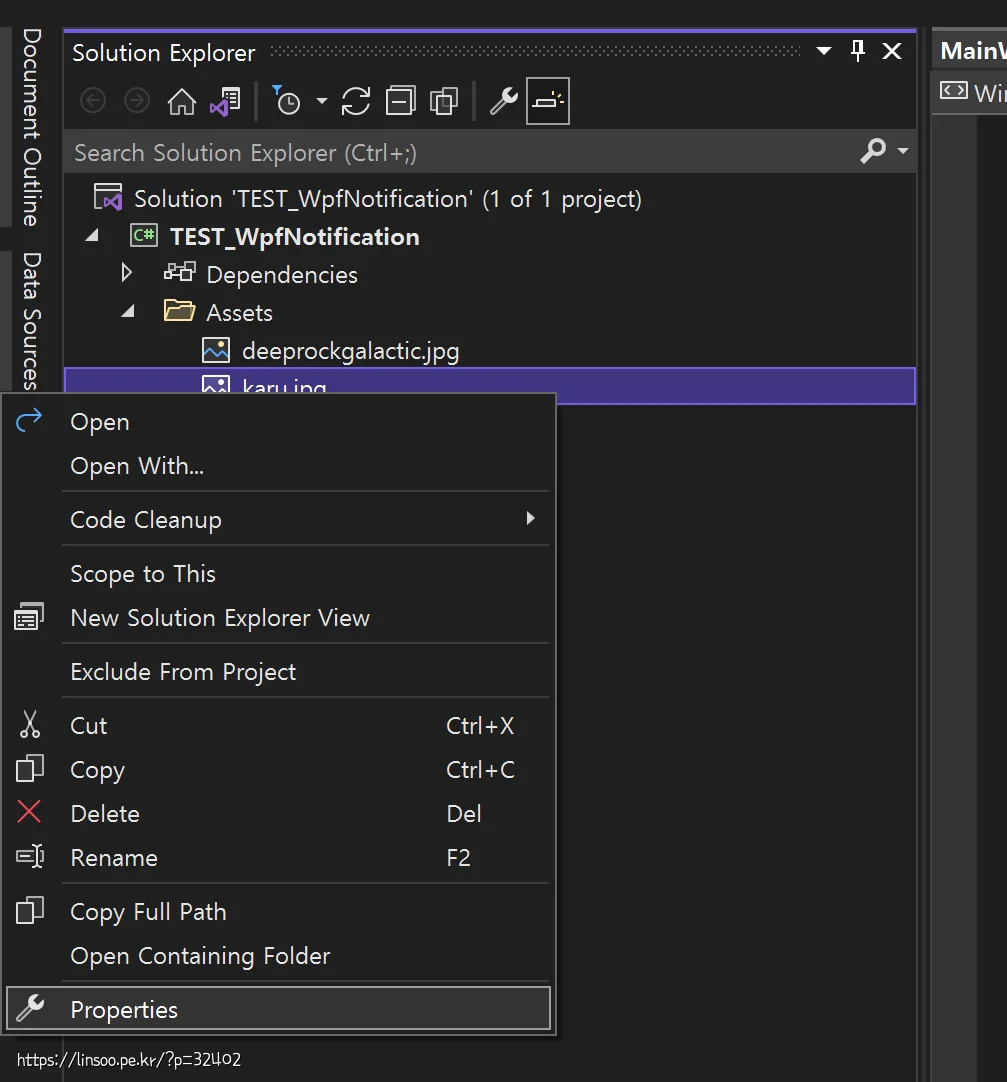
이미지 파일은 우클릭후 Properties를 선택해서
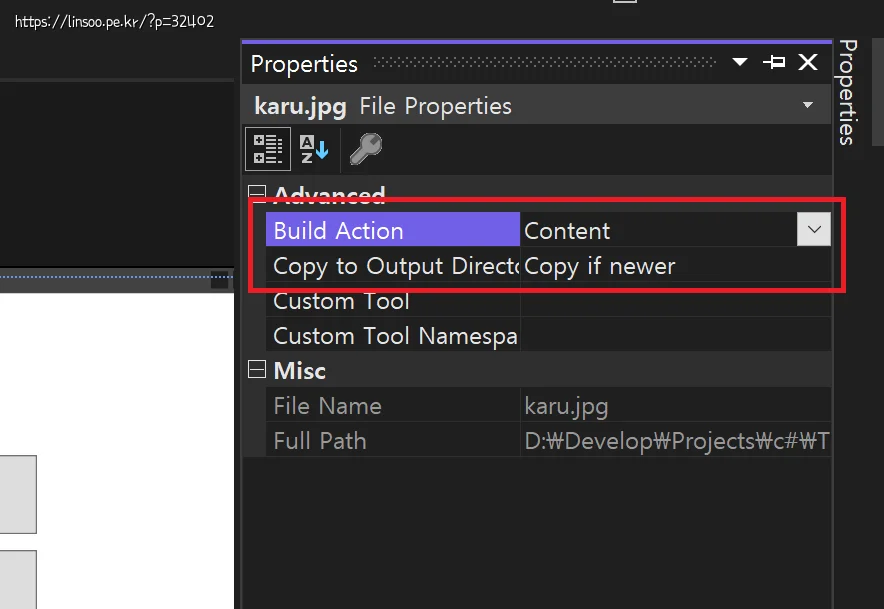
Build Action은 “Content” 로 Copy to Output Directory는 “Copy if newer” 를 선택합니다.
이제 MainWindow.xaml.cs 파일을 열어서 하나씩 코드를 넣습니다.
private string m_imgKaru = Path.GetFullPath(@"Assetskaru.jpg");
private string m_imgDeepRockGalactic = Path.GetFullPath(@"Assetsdeeprockgalactic.jpg");
이미지 파일 경로를 변수로 저장했습니다. 여러군데에서 쓰기 편하도록요.
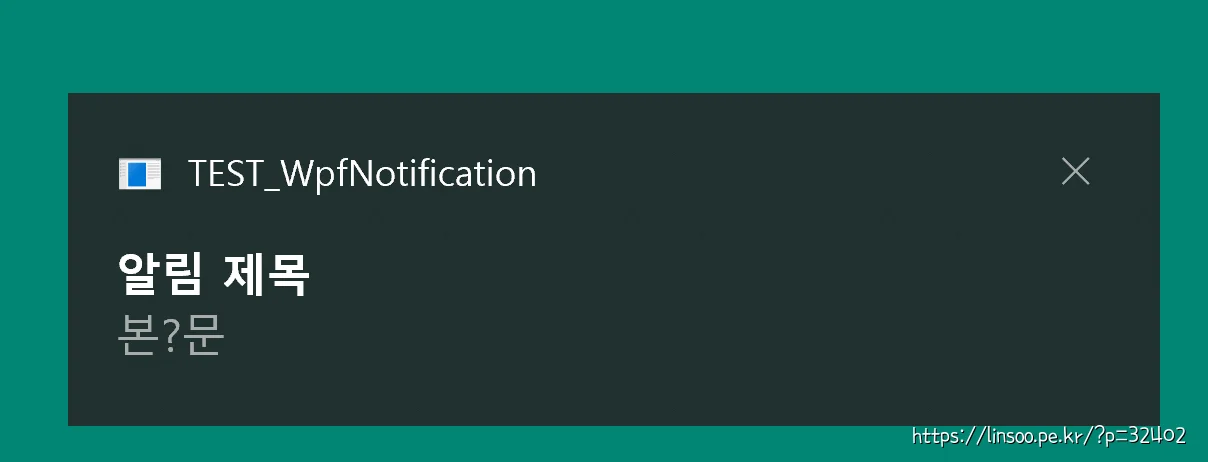
private void Button_Click(object sender, RoutedEventArgs e) {
    new ToastContentBuilder()
       .AddText("알림 제목")
       .AddText("본?문")
       .Show();
}
첫번째 버튼입니다. 간단하게 텍스트만 나옵니다.
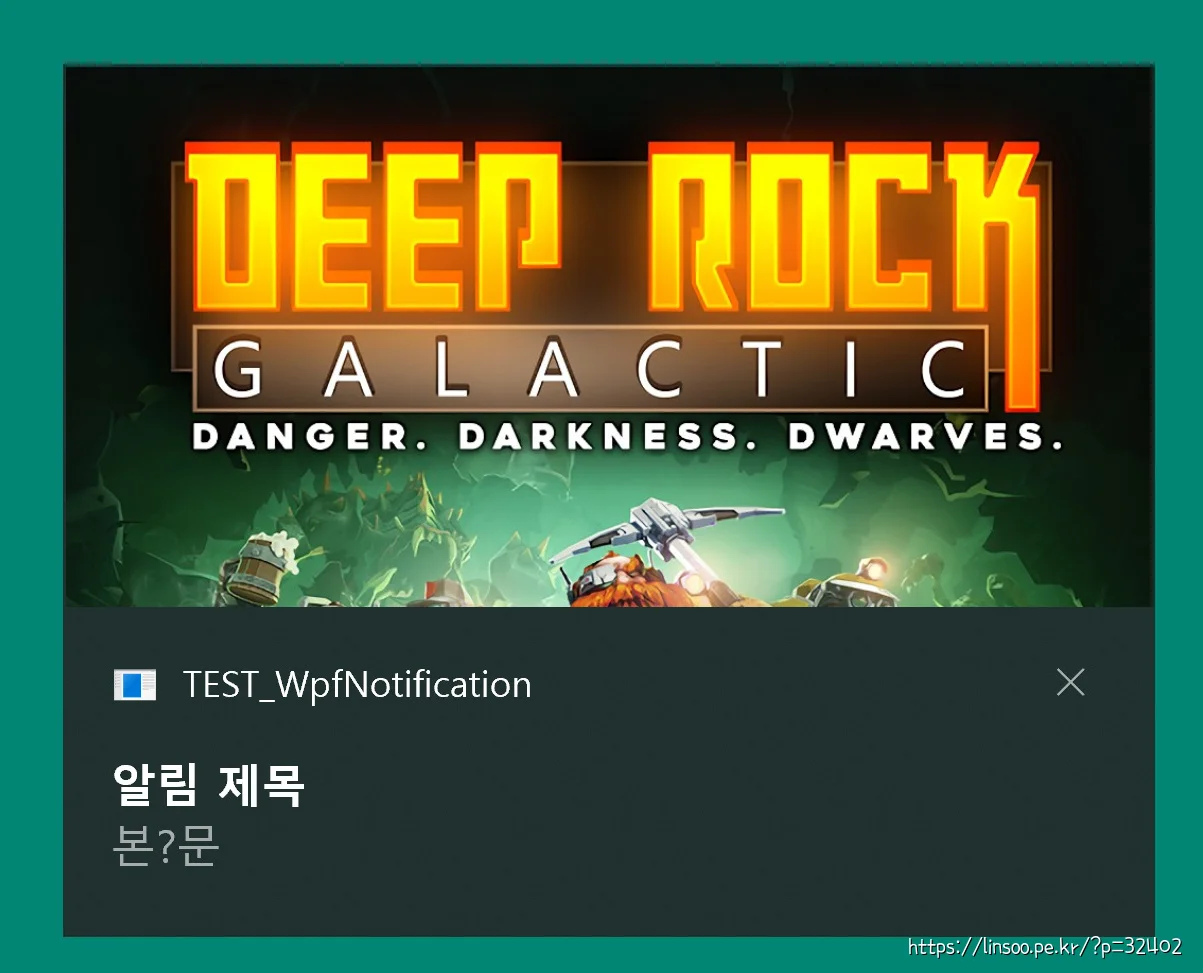
private void Button_Click_1(object sender, RoutedEventArgs e) {
    new ToastContentBuilder()
       .AddText("알림 제목")
       .AddText("본?문")
       .AddHeroImage(new Uri(m_imgDeepRockGalactic))
       .Show();
}
두번째 버튼입니다. 이미지를 추가했습니다.
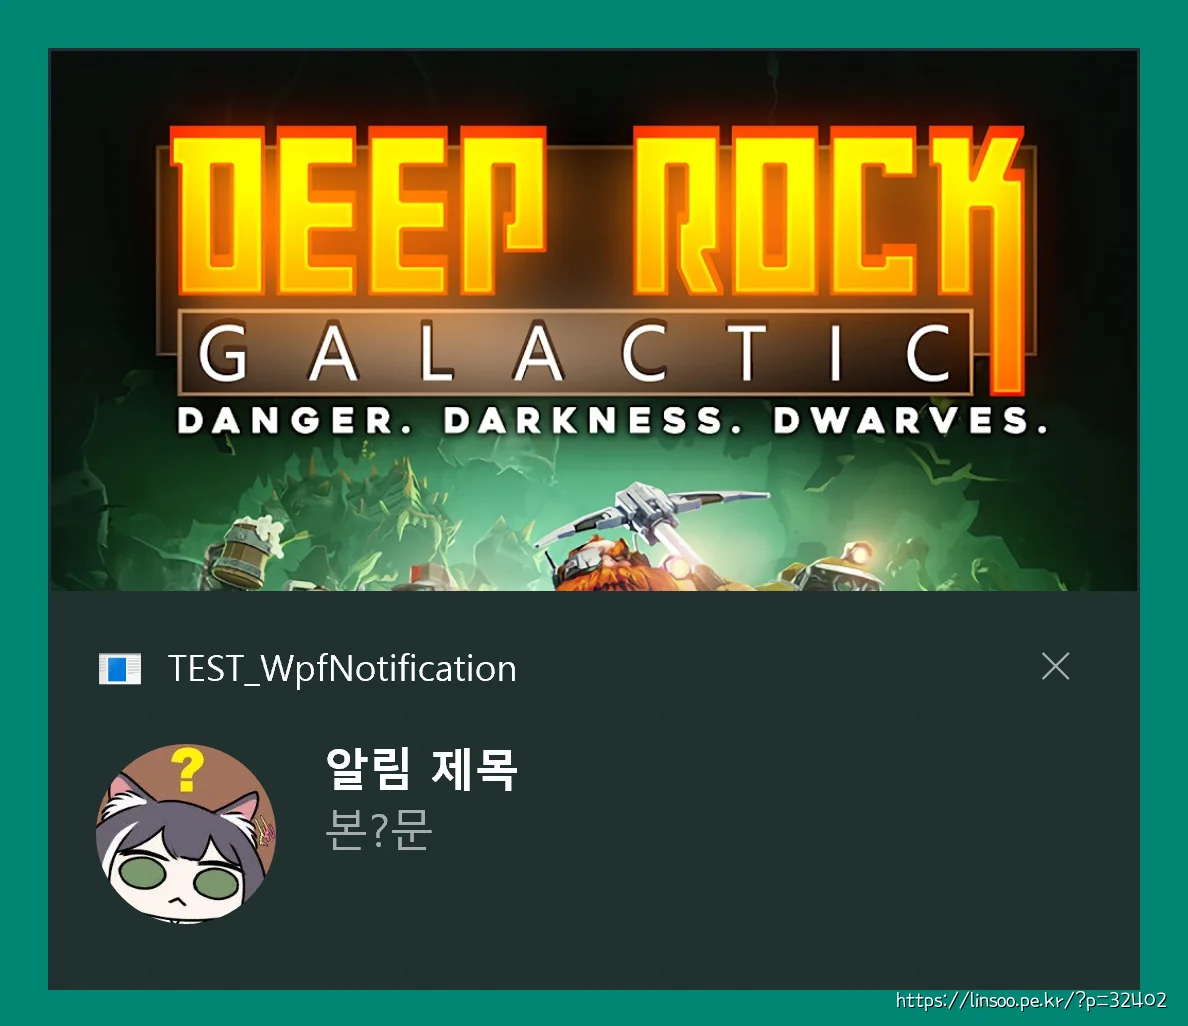
private void Button_Click_2(object sender, RoutedEventArgs e) {
    new ToastContentBuilder()
        .AddText("알림 제목")
        .AddText("본?문")
        .AddAppLogoOverride(new Uri(m_imgKaru), ToastGenericAppLogoCrop.Circle)
        .AddHeroImage(new Uri(m_imgDeepRockGalactic))
        .AddArgument("action", "reply")
        .Show();
}
세번째 버튼엔 로그인 유저 플필 사진처럼 나오게 하는것인데 ToastGenericAppLogoCrop 항목으로 Circle, Default, None이 있는데 None은 크롭없이 오리지널로 나오고(축소) Default는 적당히 잘라냅니다.
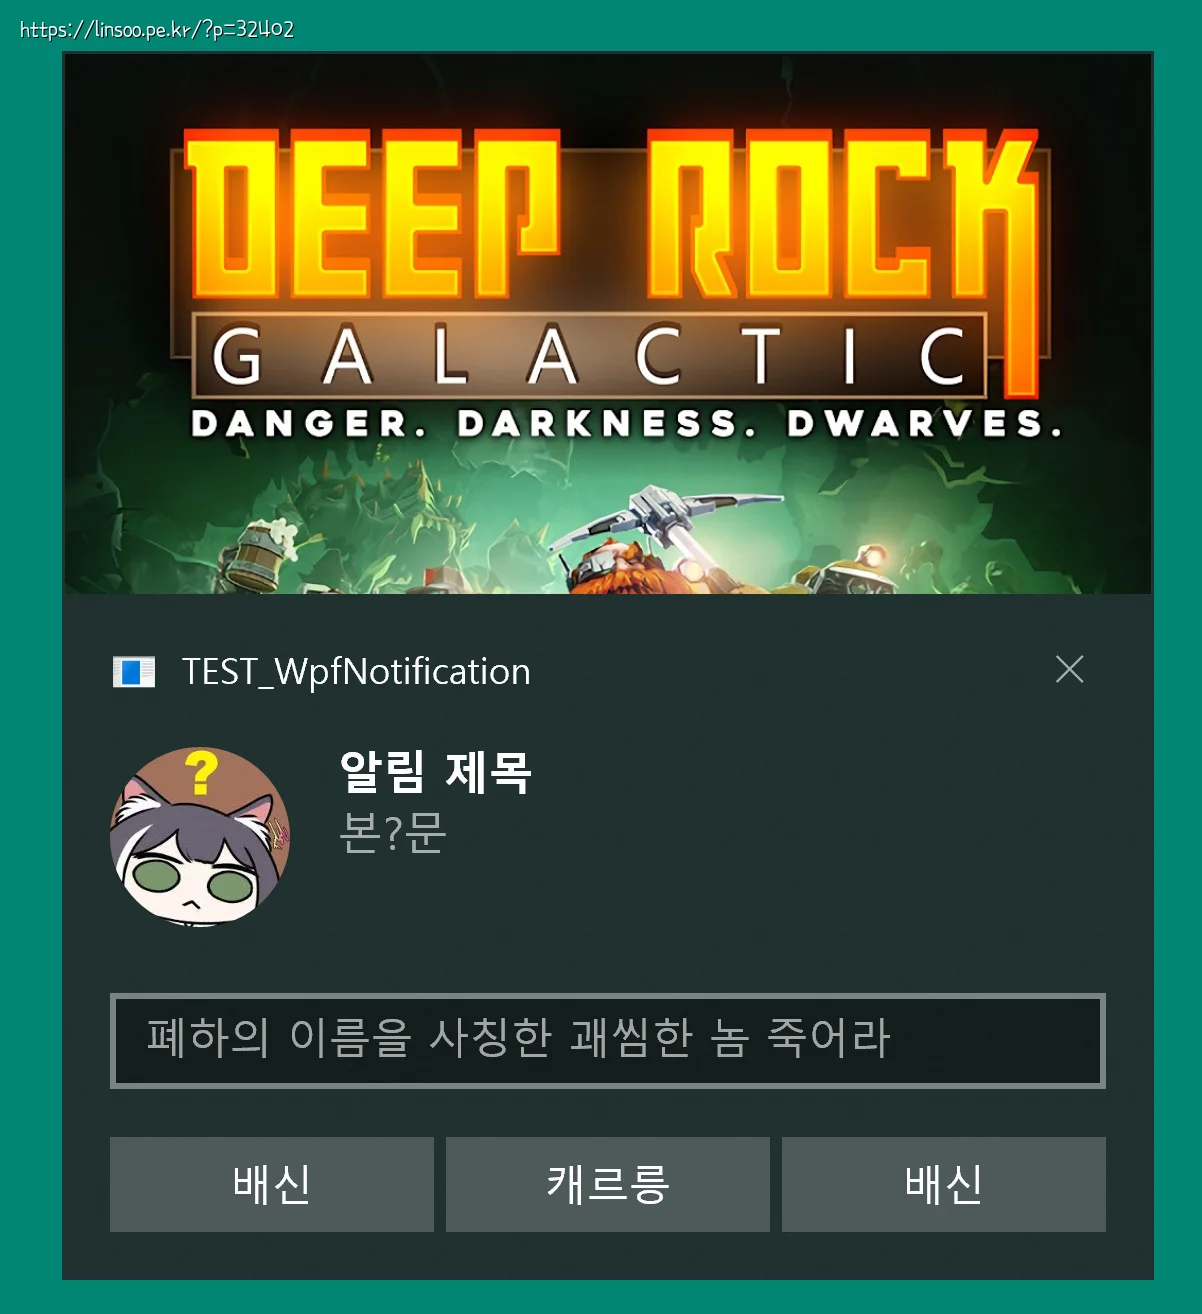
private void Button_Click_3(object sender, RoutedEventArgs e) {
    new ToastContentBuilder()
        .AddText("알림 제목")
        .AddText("본?문")
        .AddAppLogoOverride(new Uri(m_imgKaru), ToastGenericAppLogoCrop.Circle)
        .AddHeroImage(new Uri(m_imgDeepRockGalactic))
        .AddInputTextBox("peko", placeHolderContent: "폐하의 이름을 사칭한 괘씸한 놈 죽어라")

        // Buttons
        .AddButton(new ToastButton()
            .SetContent("배신")
            .AddArgument("action", "betrayal")
            .SetBackgroundActivation())

        .AddButton(new ToastButton()
            .SetContent("캐르릉")
            .AddArgument("action", "Meow")
            .SetBackgroundActivation())

        .AddButton(new ToastButton()
            .SetContent("배신")
            .AddArgument("action", "betrayal")
            .SetBackgroundActivation())
        .Show();
}
딱히. 설명 할거 없이 위와 같습니다.
AddArgument에 넣은 값은
public MainWindow() {
    InitializeComponent();
    ToastNotificationManagerCompat.OnActivated += ToastNotificationManagerCompat_OnActivated;
}

private void ToastNotificationManagerCompat_OnActivated(ToastNotificationActivatedEventArgsCompat toastArgs) {
    // Obtain the arguments from the notification
    ToastArguments args = ToastArguments.Parse(toastArgs.Argument);

    // Obtain any user input (text boxes, menu selections) from the notification
    ValueSet userInput = toastArgs.UserInput;

    // Need to dispatch to UI thread if performing UI operations
    Application.Current.Dispatcher.Invoke(delegate {
        // TODO: Show the corresponding content
        MessageBox.Show("Toast activated. Args: " + toastArgs.Argument);
    });
}
MainWindow.xaml.cs에서 연결해주면 알림바에 버튼을 클릭했을경우 ToastNotificationManagerCompat_OnActivated 부분이 호출되면서 어떤 인자를 넘겼는지 알 수 있음. 그걸로 작동을 지정해주면 됩니다.
샘플 다운로드 : TEST_WpfNotification.zip

혹시 다른건 별 문제 없는데 ToastContentBuilder에 Show() 없다고 나오면 위에 TargetFramework 바꾸기 전에 nuget으로 패키지 받아서 그렇습니다.
답글 남기기